When I first moved to Arkansas, I discovered I could easily spend a small fortune on granola. In grocery stores, granola is often available in bulk (so it appears to be cheaper), touted as organic (so it appears to be healthy), and full of sugar (so it appears to be delicious, which it most certainly is). Unfortunately, I love to eat it like cereal with milk and little else, so a $5 box of French almond granola doesn’t last long around here. But if you have a working oven (and you’ll need a full oven for this, unless you want to spend your afternoon monitoring batches in your toaster oven), you can make your own granola by the pound, which will allow you to load it up with all sorts of healthy nuts and seeds while discouraging you from eating it all in one sitting. You can find my favorite classic granola recipe here, but it’s very easy to invent your own:
Basic Formula
Dry ingredients that make you feel smug about eating granola + Bubbling hot mixture of sugars, oils, spices, and salt
+ Foil-lined baking sheet + Oven + [Optional] Dried fruit or chocolate = Granola
Full oven and one oven mitt
Large mixing bowl
Mixing spoon
Measuring cups/spoons (probably you will need 1-cup, 1/2-cup, 1/4-cup, 1-tablespoon, and 1/2-teaspoon measures)
Small saucepan
Baking tray(s) (you can adjust this number depending on how much granola you’re making)
Aluminum foil or parchment paper
Basic Steps
1. Preheat the oven to 325ºF.
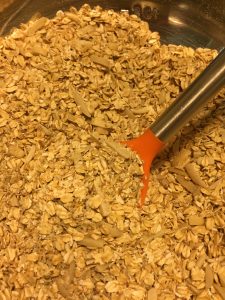
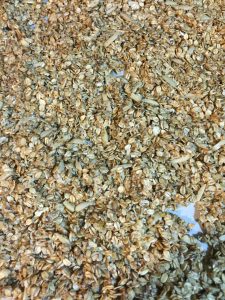
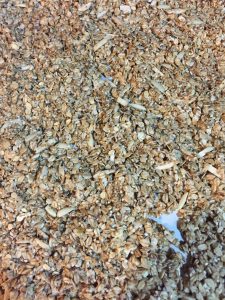
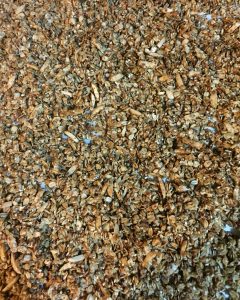
2. Pour dry ingredients into a large mixing bowl. There isn’t any rule for how much of the various ingredients you should include at this stage, but for the purposes of Step 2 you want to keep in mind that a large batch of granola will probably contain 8–12 cups of ingredients and a smaller batch will contain 4–7 cups (I made a smaller recipe in the pictures shown here because I was trying some new ingredients and didn’t want to take chances with a larger batch). Most granolas get their bulk from oats (since oats are inexpensive), so the more oats you include the more granola you’re likely to have. Add in as many nuts, seeds, and nutritional superfoods as you like. (I’ve used hemp hearts, quinoa flakes, wheat germ, ground flaxseed, and oat bran at this stage, among others. If you want to use coconut flakes, watch them during baking, because they burn. You might even consider adding them halfway through.) Stir so the mixture has something approaching even distribution.
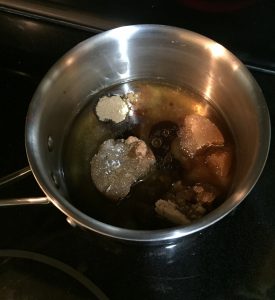
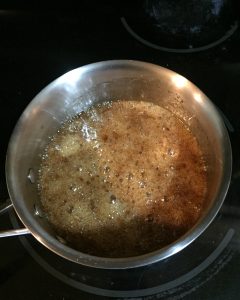
3. In a small saucepan, combine your flavoring and binding agents. Basically, you’re going to need to use some sort of sugar (honey, molasses, brown sugar, maple syrup, etc.) to bind everything together and some sort of oil to coat the mixture so the sugar doesn’t burn in the oven. (Don’t use butter as your oil; it burns easily. I like safflower oil, which is neutrally-flavored.) To this mix you add salt and whatever spices or extracts you want for flavor. In determining quantities, think about a 2:3 ratio of oil to sugars (you want the sugar flavor to predominate).
Here are some ratios to consider:
If making a small batch of granola…
- 1/2 cup oil and 3/4 cup sugars, with maybe an extra squirt of honey
- 1/2 – 3/4 teaspoon salt (after reading Salt, Fat, Acid, Heat, I typically err on the side of more salt, especially when I’m adding it this early)
- 1/2 tablespoon other spices, if mild (cinnamon, vanilla extract, allspice, etc.)
- 1/4 tablespoon stronger spices (ginger, cumin, etc.)*
If making a larger batch, double all the quantities listed above.
4. Bring everything in your saucepan to a boil. Watch carefully and stir occasionally so the sugars don’t burn.
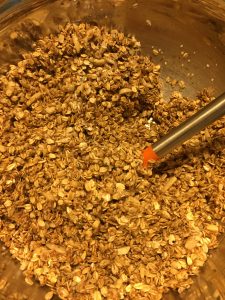
5. Once the liquids are bubbling, pour them over the dry ingredients and stir until the dry ingredients are coated.
6. Line two baking trays with aluminum foil or parchment paper (or one tray; your granola will cook faster or slower depending on how thickly you layer it).
7. Distribute the ingredients evenly across the trays, spreading the clumps around with a spoon (if you like clumps in your granola, don’t spread too thinly).

8. Bake for around 10 minutes. Remove each tray from the oven, stir so whatever has been on the bottom won’t burn, and return the trays to the oven. (Stir in coconut flakes if you decided to add them midway through baking.)
9. After about 10 more minutes, start checking your granola for doneness. You’re looking for browning on the oats and any nuts. Don’t worry if the clumps don’t seem to have set; this process happens during cooling. After 15 minutes at most, it should be time to remove the granola from the oven. Remember: under-baked granola is still tasty. Burnt granola is unpalatable. Err on the side of caution.
10. Remove the trays from the oven and let them sit on the counter to cool. This is the point at which the sugars will harden to create clusters of oats and nuts.
11. When the granola is cool, add extra ingredients such as raisins, chocolate chips, or other dried fruit. Mix together and store in an airtight container or in your freezer.
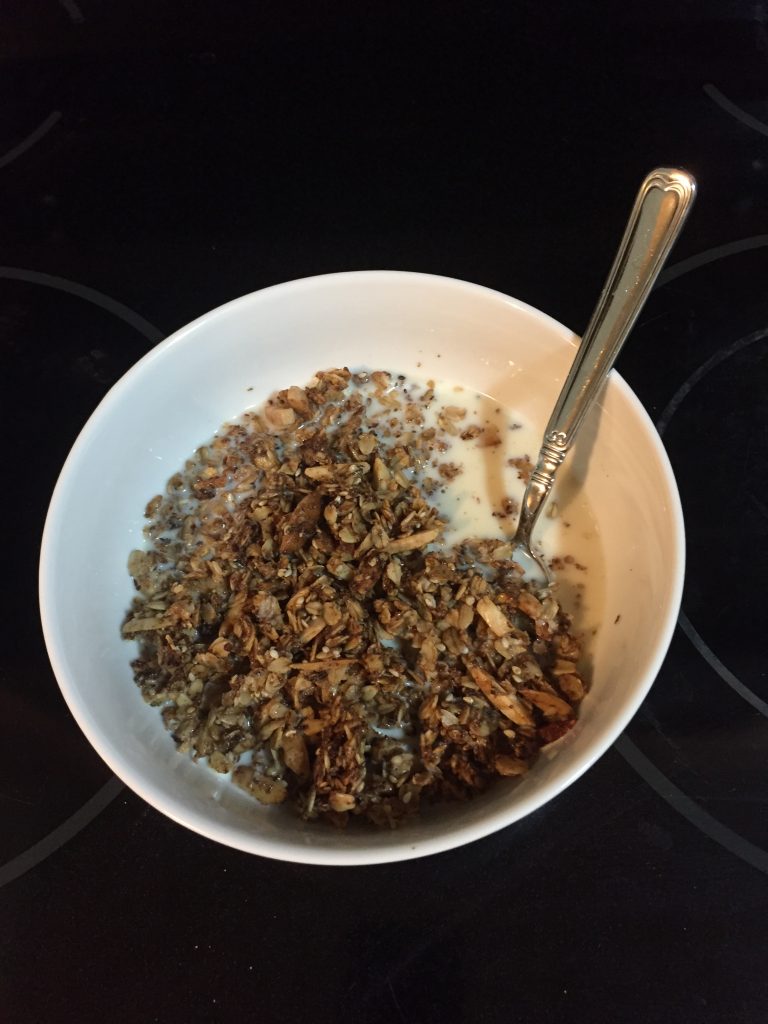
Granola goes great with fruit, yogurt, and plain milk. We’ll revisit it again in January, so try it out now and see what you can come up with!
* The exception here is nutmeg. Go easy on nutmeg, if you’re inclined to use it, because it can be toxic in large doses. Just grate a pinch of it over your mixture once it’s boiling like you would do with other scenarios in which you might use nutmeg, and leave it at that.