Steak is one of those entrées we tend to reserve for special occasions, so most of us feel a certain pressure to get it right. When we received a pack of steaks for Christmas this year, I was certain my husband would be the one cooking them; he’s had more practice, and I doubted my ability to serve up something he would endorse. (We’re both native Texans, so we have high standards for steak.) But the provider screwed up our order and we got two extras, so I felt justified in using those for practice. As it turns out, cooking indoor steak is very, very easy, as long as you remember two key concepts:
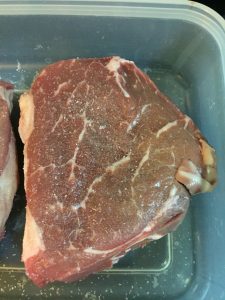
Key Concept 1: Understand your cut. We received beef tenderloin (filet mignon) in our package. This meat is tender, as the name suggests, but it doesn’t have any marbling. (Marbling is the fat that runs through, for instance, a ribeye.) This cut also lacks bones. Since both bones and fat lend flavor and juiciness, the danger with tenderloin (and other, similar cuts) is that they will dry out and become tough. In contrast, a bone-in ribeye has tons of flavor on its own. It’s typical to baste steaks with butter, but this is especially important if you have a lean cut of meat. Salting the steak several hours in advance will also help it stay tender.
Key Concept 2: Meat has to rest. Meat needs to rest after cooking. During this time, juices will run out of the steak as the meat relaxes, and the internal temperature will continue to rise as the steak experiences “carryover cooking” (i.e. the cooking that happens once it’s off of the heat). If you like your steaks medium-rare (most of us do), err on the side of early removal from the pan. You can always throw the meat back into the oven for a minute if necessary.
You’ll ideally need a cast-iron skillet for this recipe, but you could use a different pan so long as it can go in the oven. Personally, I prefer the flavor of a true charcoal grill, but without the means to grill at our apartment, cast iron is the next best thing.
[At a Minimum] You Will Need:
- Steak(s), sliced thick (you can use bone-in steaks or boneless, but don’t start with a thin steak if this is your first attempt; you’re more likely to overcook it)
- Salt
- Olive oil
- Butter
- (Optional) Several sprigs of thyme, fresh or dried
Paper towel(s)
Tupperware or other container for holding raw steak, such as a Ziploc bag
Cast iron skillet or other ovenproof pan, plus one free burner on your stove
Tongs
Oven (the toaster oven will note work here, unless yours is large enough to hold your cast iron skillet)
Oven mitt
Butter knife
Large spoon for basting steak
Plate for resting steak
(Optional) Meat thermometer
Steps
1. Several hours before you plan to cook the steak, remove it from its packaging, blot off the outsides with paper towels, and rub salt into both sides of the meat. Place the steak into a sealed container and return it to the fridge. The salt will penetrate the meat and add flavor and tenderness during cooking, so get a head start on this step when possible. I prefer to salt steaks for dinner during mid-afternoon, or the night before if I’m serving them for breakfast.
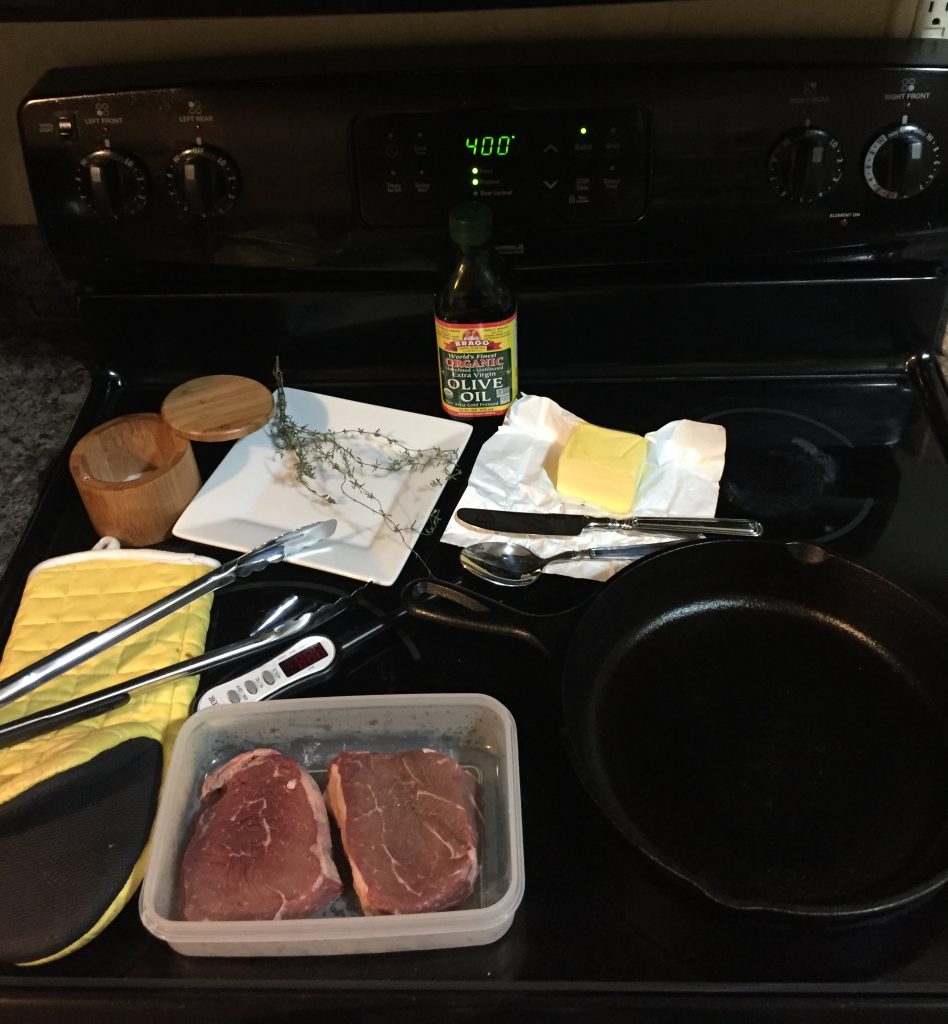
2. When it is time to cook the steak, remove the meat from the fridge and let it sit uncovered while the oven preheats. Set the oven temperature to 400ºF and simultaneously heat a good glug of olive oil in a cast-iron skillet over medium-high heat.
IMPORTANT: Read steps 3 through 8 before proceeding.
3. When the olive oil begins to shimmer and grow fragrant, add the steak(s) to the pan, presentation side down. (The presentation side is the side you plan to serve facing up.) The meat should sizzle; if it doesn’t, your pan isn’t hot enough yet.
4. Leave the steak(s) alone long enough to sear. This timing will depend on the heat of your pan and the size of your steak, but check it after about thirty seconds to be safe. You’ll begin to see the meat cooking along the bottom edges when it’s time to check.
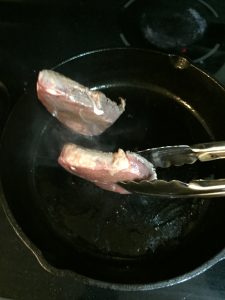
5. Use tongs to sear the sides of the steak. This step can be a real juggling act if you’re handling multiple steaks, so you can experiment with multiple sets of tongs if you have them. When I’m cooking two steaks, I try to balance one steak on its own while holding the other with the tongs. However you manage this step, you want the steaks to mirror one another at all times so they cook evenly. Don’t leave one steak face-down while you sear the sides of the other.
6. Once the sides have seared, flip the steaks so the uncooked side is face-down. At this point, add a knob of butter and the thyme to the pan. The amount of butter you use will depend on the cut of meat; fattier cuts will need less butter than lean ones. You should add some butter at this stage regardless of cut, however, because the butter will help distribute the flavor of the thyme.
7. Using a large spoon, baste the meat with melted butter. This basically means that you’re going to scoop up the melted butter in the spoon and pour it over the meat. (If necessary, grab your oven mitt and tilt the pan so the butter can pool in one place, which will make for easier spooning.)

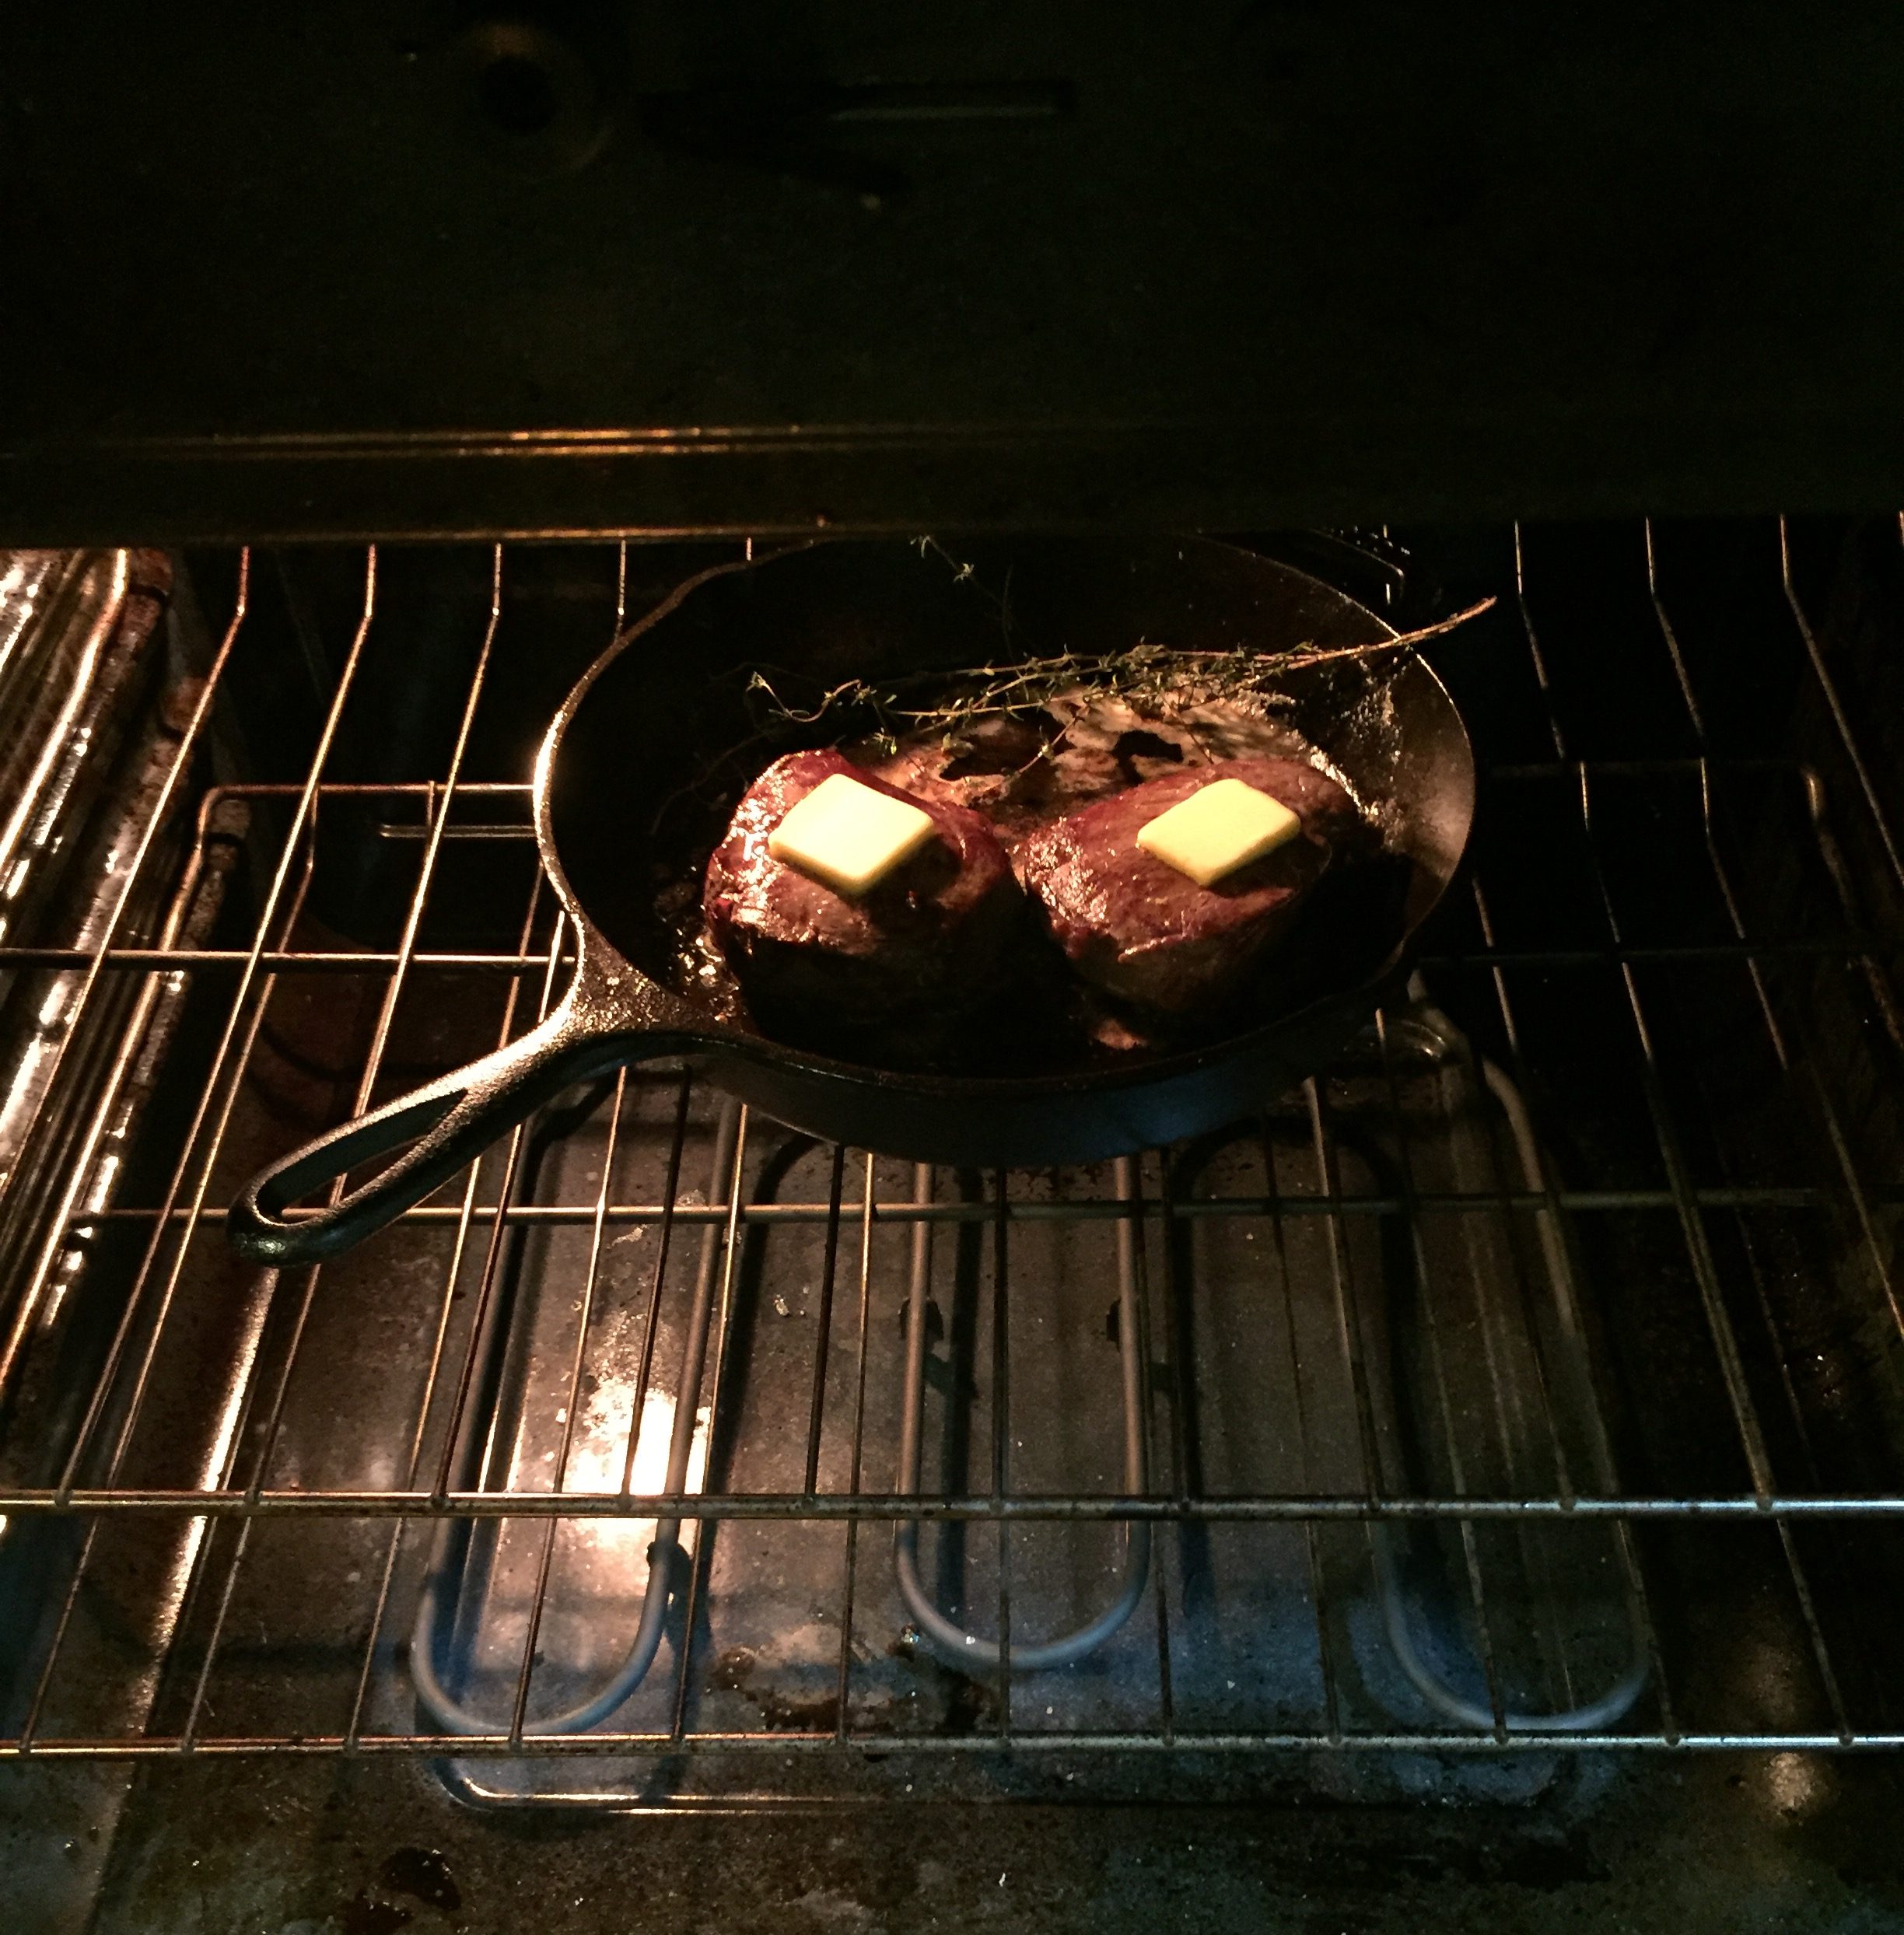
8. Place one last pat of butter on top of each steak and stick the skillet in the oven. (If you’re using a particularly marbled cut of meat, you can choose to omit the extra butter in this step.)
9. Let the steak cook for a few minutes in the oven. This is where you will have to use your judgment. Our tenderloins did not need more than about two minutes in the oven, because they had already cooked around the sides through the searing process and the oven was just there to finish out the middle. A larger cut of steak or one with a bone may need more time (4–5 minutes), depending on how long you spent searing and basting. Read step 10 to help you decide when to remove the meat.
10. Remove the steak(s) from the skillet and allow the meat to rest. During this time, you can check for doneness in several different ways. If you’re using a thermometer, the internal temperature should be around 130ºF for medium-rare. (Unlike chicken, you aren’t risking food poisoning if your meat is slightly under, say, 128ºF, but your steak will be rare.) If you don’t have a thermometer or don’t want to mangle your steak, look at the juices and press your fingers against the thickest part of the steak. Undercooked steak will have juices that are very red, rather than tinged with brown, and the meat will feel squishy, with a lot of give. If you’re noticing any of these signs and are concerned, try another minute in the oven. Here is a useful guide with some additional information if you are feeling uncertain.
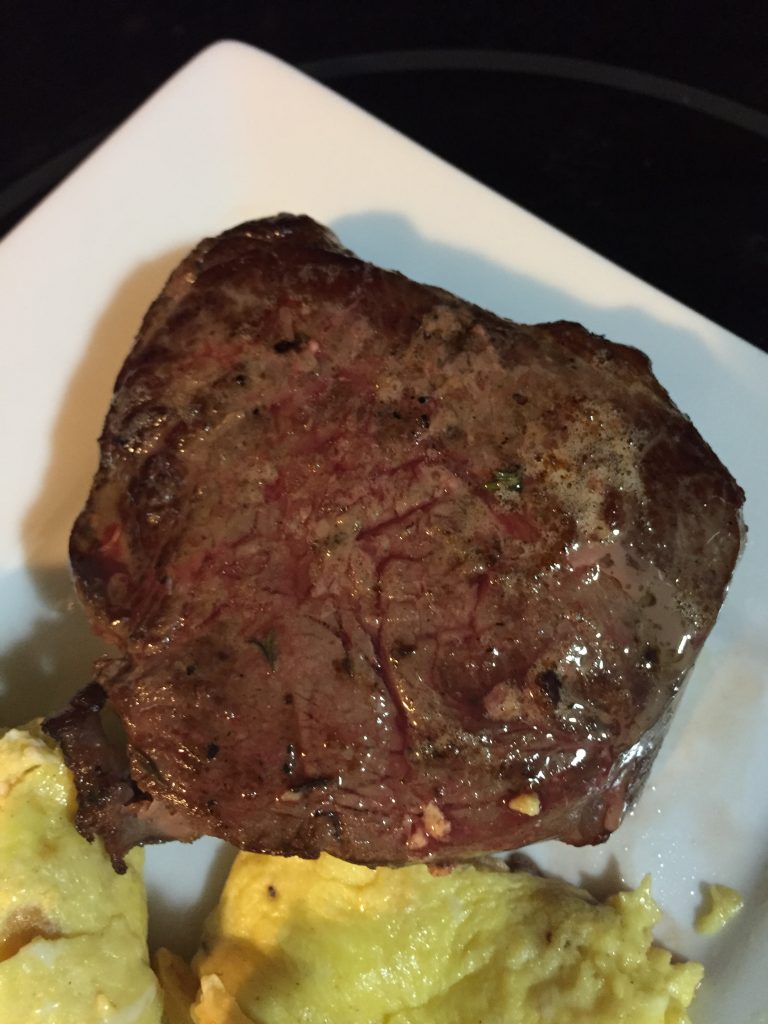
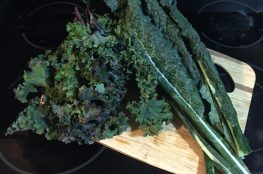
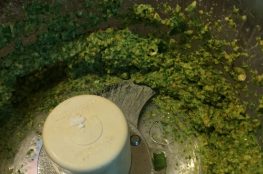
I like to serve steak with greens, roasted potatoes, or scrambled eggs, depending on the time of day. If I’m cooking greens or eggs, I’ll save some juices from the meat and cook the side in the skillet while the meat rests so the flavor transfers. However you serve it, give steak a try; there’s nothing quite so satisfying as eating a high-quality cut of meat and knowing you prepared it yourself.