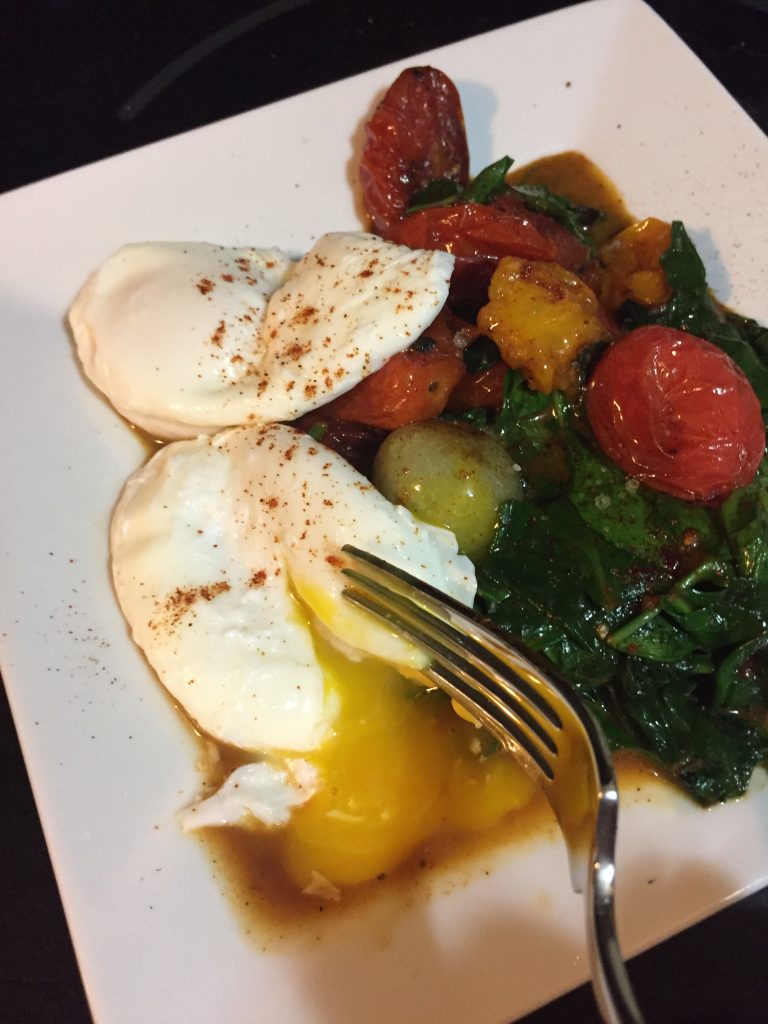
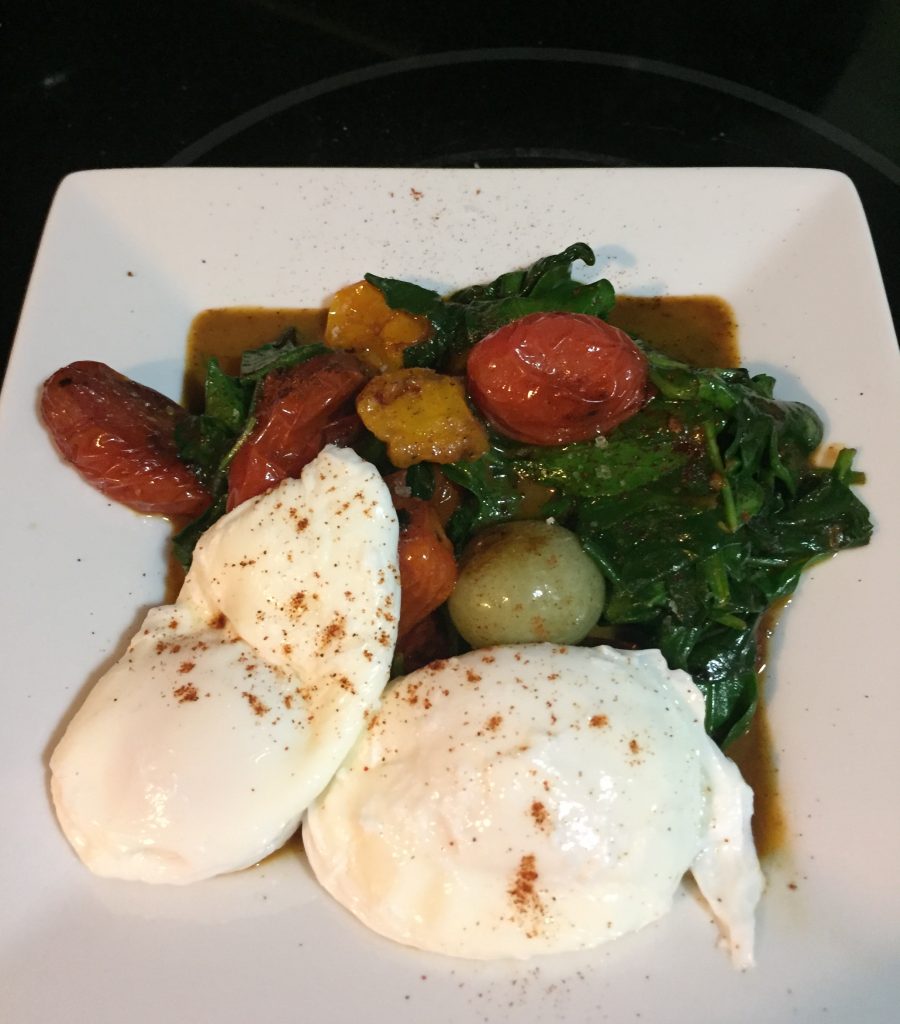
A perfectly-poached egg is a kind of delicacy. You can place it on top of a piece of toast, next to a pile of roasted asparagus, or even at the bottom of a bowl of creamy soup.* Poached eggs are cooked on the outside but still gooey on the inside, and when you slice into them the yolk spills out in a glorious pool. You can find poached eggs in all sorts of fancy restaurants since they look so elegant, but they are very easy to make at home and fairly forgiving while you’re learning.
[At a Minimum] You Will Need:
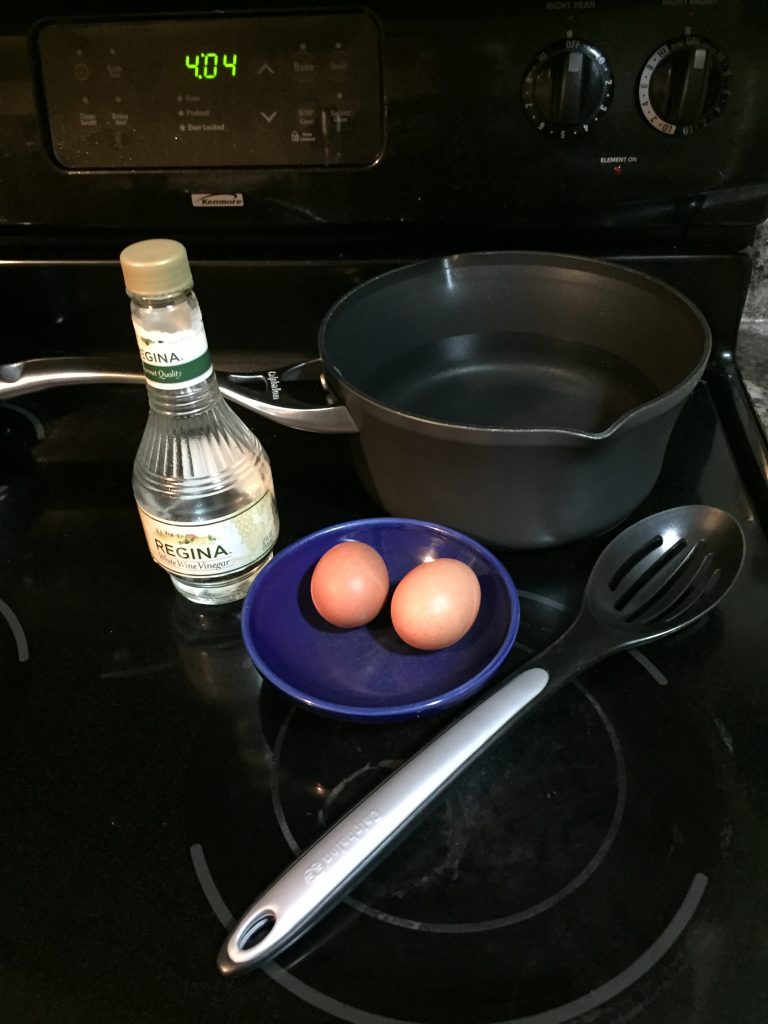
One pot filled halfway with water (choose a medium-sized pot), and one appropriately-sized burner on your stove
Cooking vinegar (try rice wine, white wine or champagne, but other types of vinegar are fine as well)
At least one egg for poaching, but probably more for backup
Shallow bowl or Pyrex liquid measure (either works well)
Slotted spoon
Steps
1. Add a splash of vinegar to the cooking water and turn up the heat so the water will come almost to a boil.
2. While you wait for the water to heat, crack your egg(s) into the Pyrex measure or shallow bowl. This step is critical because you need to make sure you don’t break the yolk when cracking each egg. If you do, you’ll need to fish out all traces of broken yolk and try again with another egg. (If you have a hard time cracking eggs without breaking them, consider (1) changing the type of egg you’re buying, as the low-grade eggs you can buy for $0.98 tend to have flimsy shells; or (2) cracking against your counter with a single firm whack. Tapping the egg repeatedly and gently against the side of a bowl, as most of us are taught as children, takes forever and causes the shell to splinter. You want the type of crack that will break the shell more or less in half.)
[Read steps 3, 4, and 5 in their entirety before proceeding to step 3.]3. When the water is simmering, which means that bubbles are rising eagerly to the top of the water but the water hasn’t hit a boil, use the handle end of your spoon to gently stir around the sides of the pot to create a whirlpool effect in the water. With your free hand, lower your bowl as close to the water as possible and slide the egg(s) into the pan. You do not want an egg to hit the water with any sort of force, or else its yolk might break.
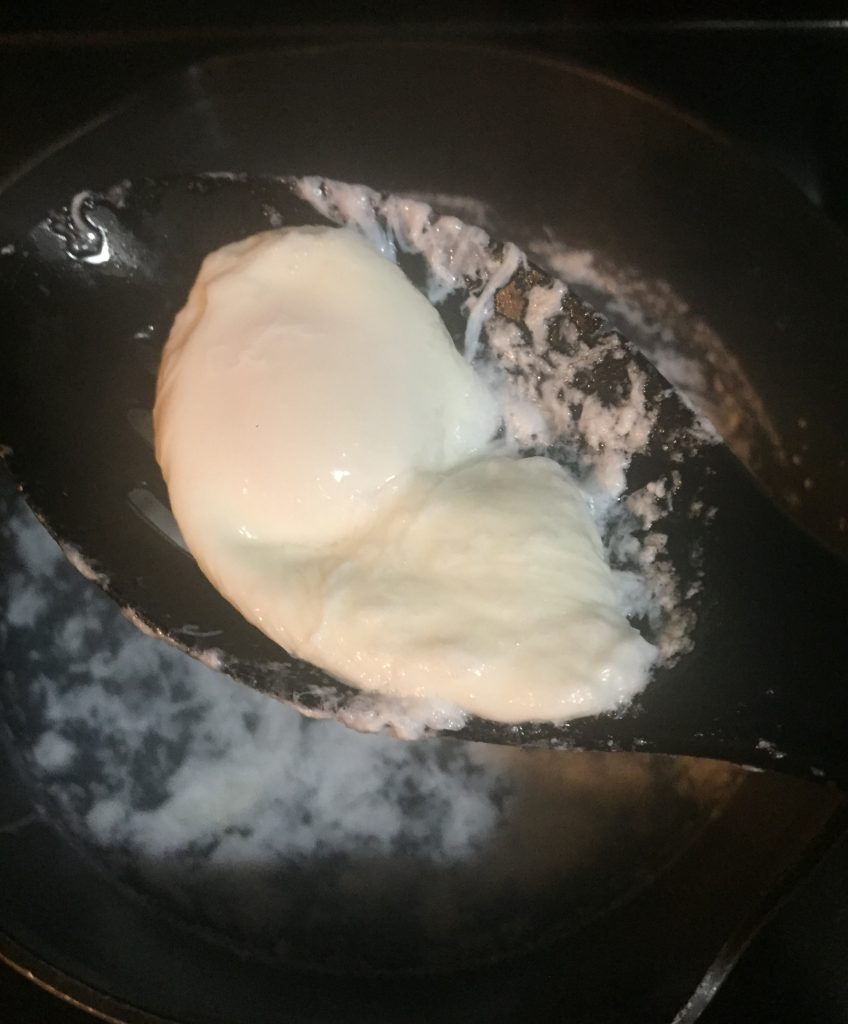
4. Continue to stir the water so that it swirls, but remove your spoon whenever you run the risk of knocking into an egg. The swirling action will help to contain the bits of egg white, which have a tendency to separate into feathery strings. Quite apart from the fact that you’ll never be able to put these bits of egg on your toast, they also tend to stick to the sides of the pan and can be a real hassle to wash off. (In the picture below, you can see that I still had lots of feathers, which means I didn’t use enough vinegar.)
5. How long you cook the egg(s) depends upon how you like your egg yolks. If you like very runny yolks, you only need to wait until the whites are set. This point will be obvious, because you won’t be able to see the yolk any more. I tend to let mine cook for an extra 45 seconds or so beyond this point because I prefer the taste and texture of the yolks when they have slightly thickened. However, I also hate all forms of hard- or soft-boiled eggs, so I rarely leave my eggs in the water for more than two or three minutes. Nothing is more disheartening to me than slicing into a poached egg only to find that the yolk has firmed up in the middle.
6. Carefully remove each egg with the slotted end of the spoon and shake gently to remove any excess moisture. Serve warm.
Want to master the art of poaching an egg? Check out this useful post from thekitchn.com for additional information.
* Thanks, Jamie Oliver, for this tip.